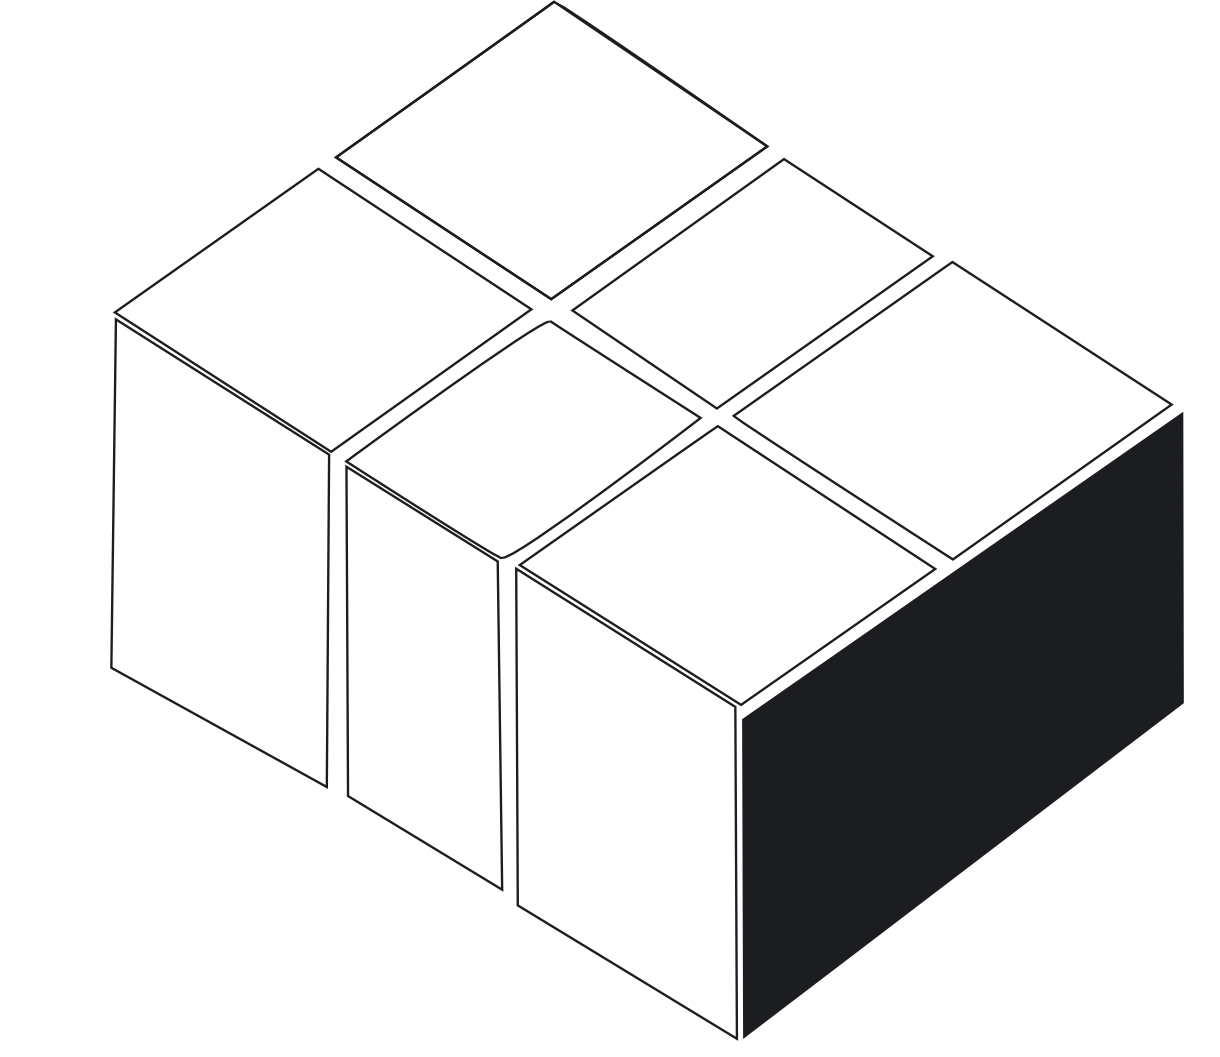
Construction system · Prime Blocks Tech
Because there is nothing for it to take apart. Every panel is tied to the foundation with starter bars, spliced to its neighbours with continuous reinforcement, and buried in structural mortar on both faces. What you end up with is one monolithic shell — walls, floor and roof reinforced into each other.
Animated from photographs of this system in use, following the documented erection sequence. A visualisation of the method, not footage of a single build.
Why it holds
The reinforcement is continuous through every joint and around every corner, and the mortar is applied over all of it in one operation. There is no frame of separate members to rack, no sheathing to peel, no cladding to lift.
Every panel is set over starter bars cast into the slab and encased when the mortar goes on. Uplift has to pull the reinforcement out of the foundation, not just the fixings out of a sill plate.
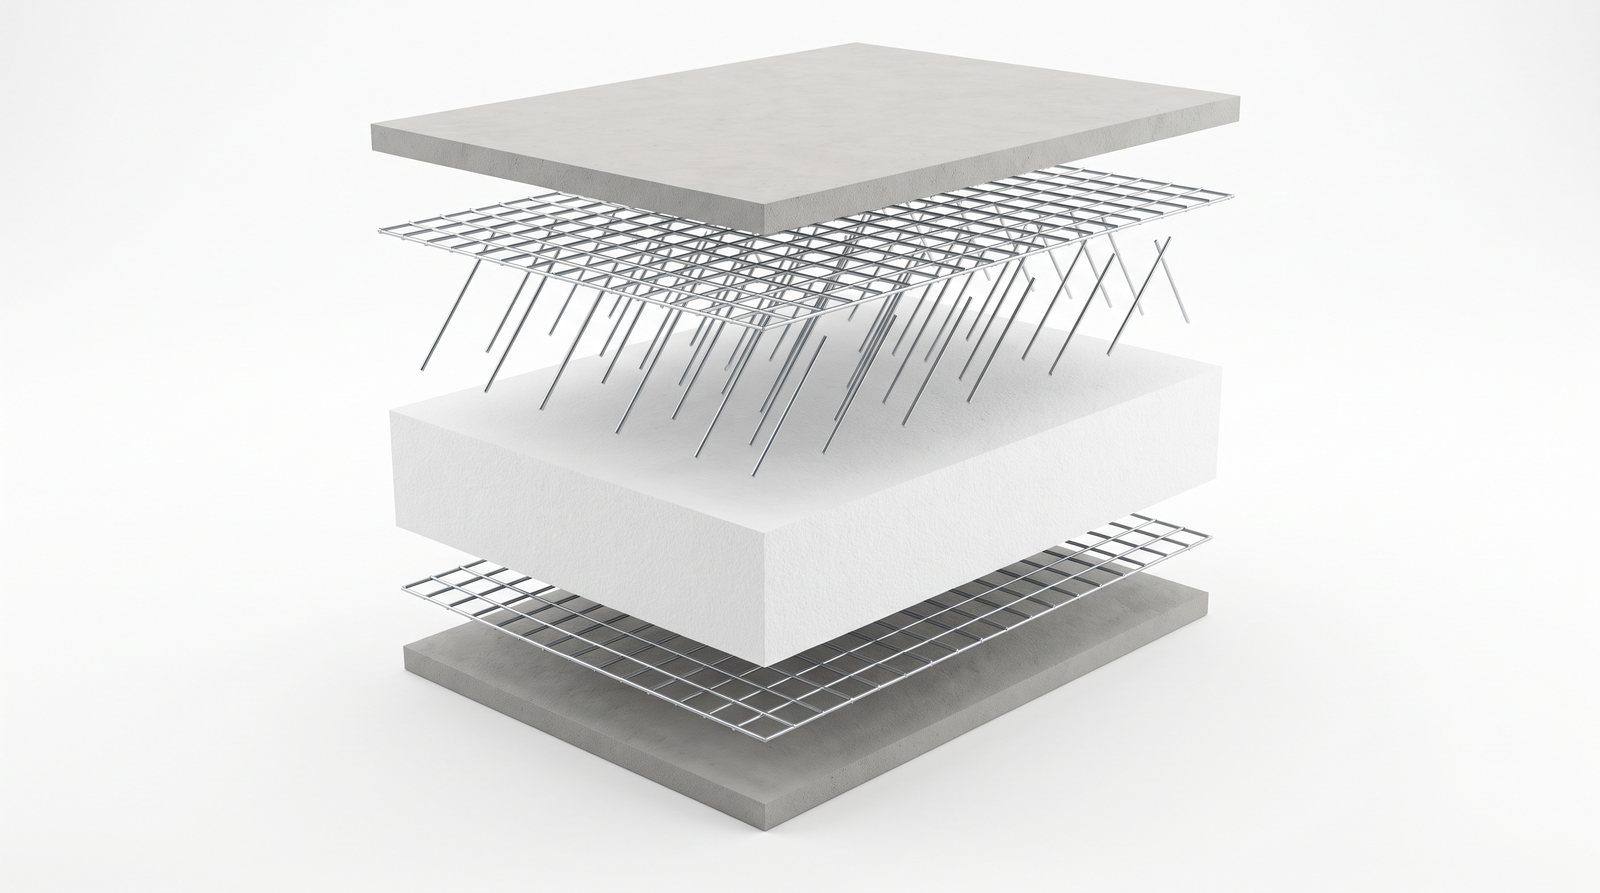
The polystyrene core is not a filler between studs — it is the web between two reinforced skins. That is why the wall reaches its R-value on its own, with nothing added on site.
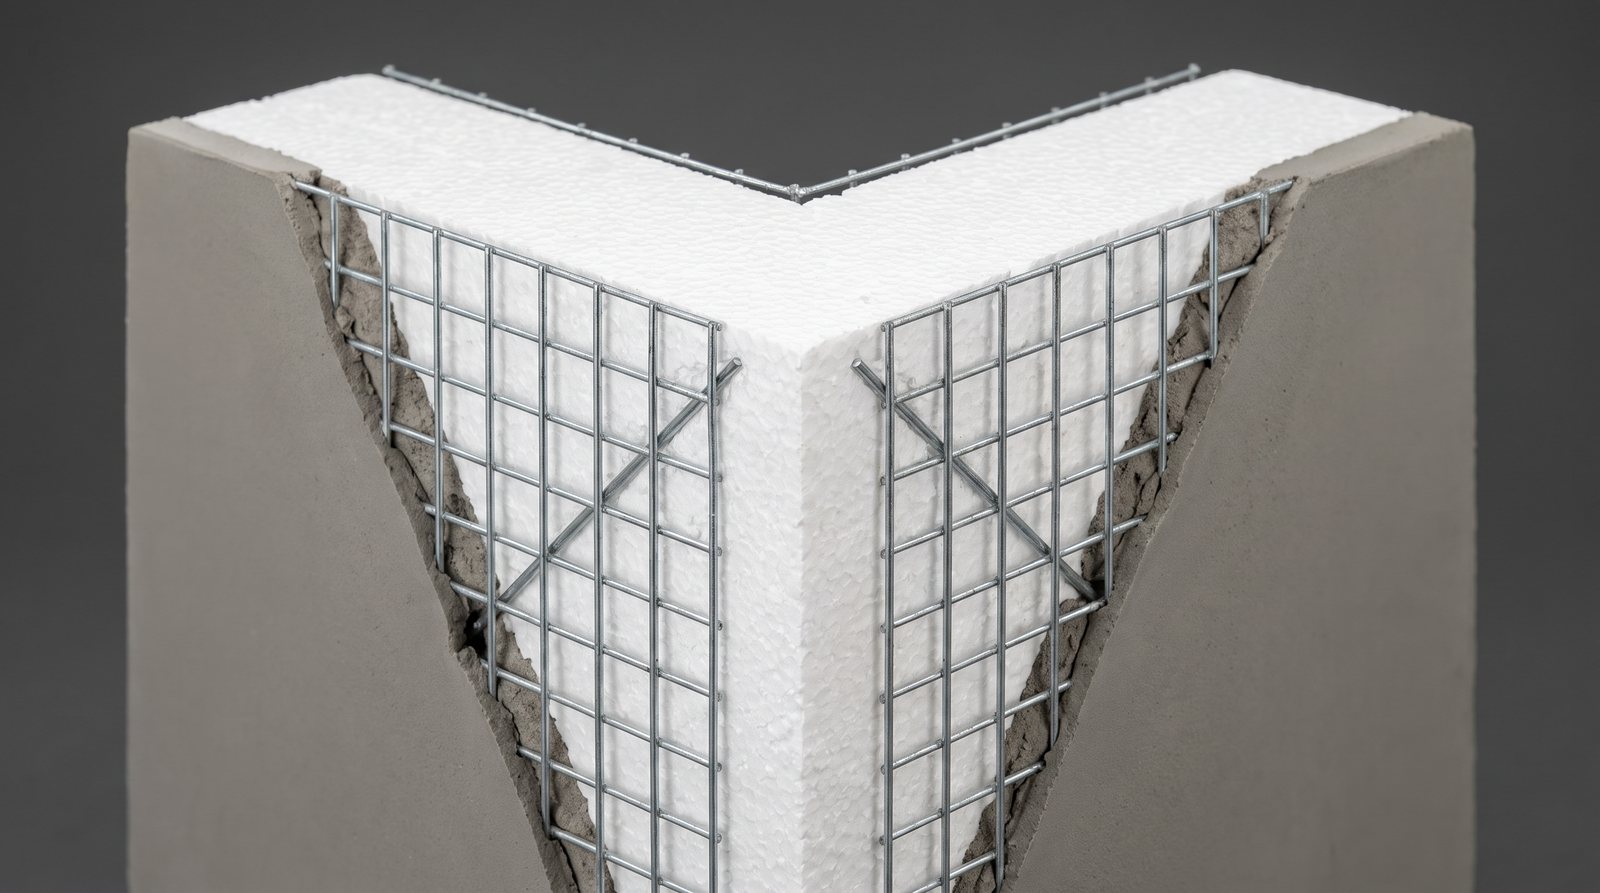
A finished wall is two reinforced concrete skins with a foam web between them. It is quiet, it does not burn like timber, and it does not care about insects or rot.
Wind, seismic and fire performance for a particular house are established by the engineer of record for your site and its loads, against your local code. We publish no rating on this page, and you should be wary of anyone who publishes one without knowing where you are building.
Step by step
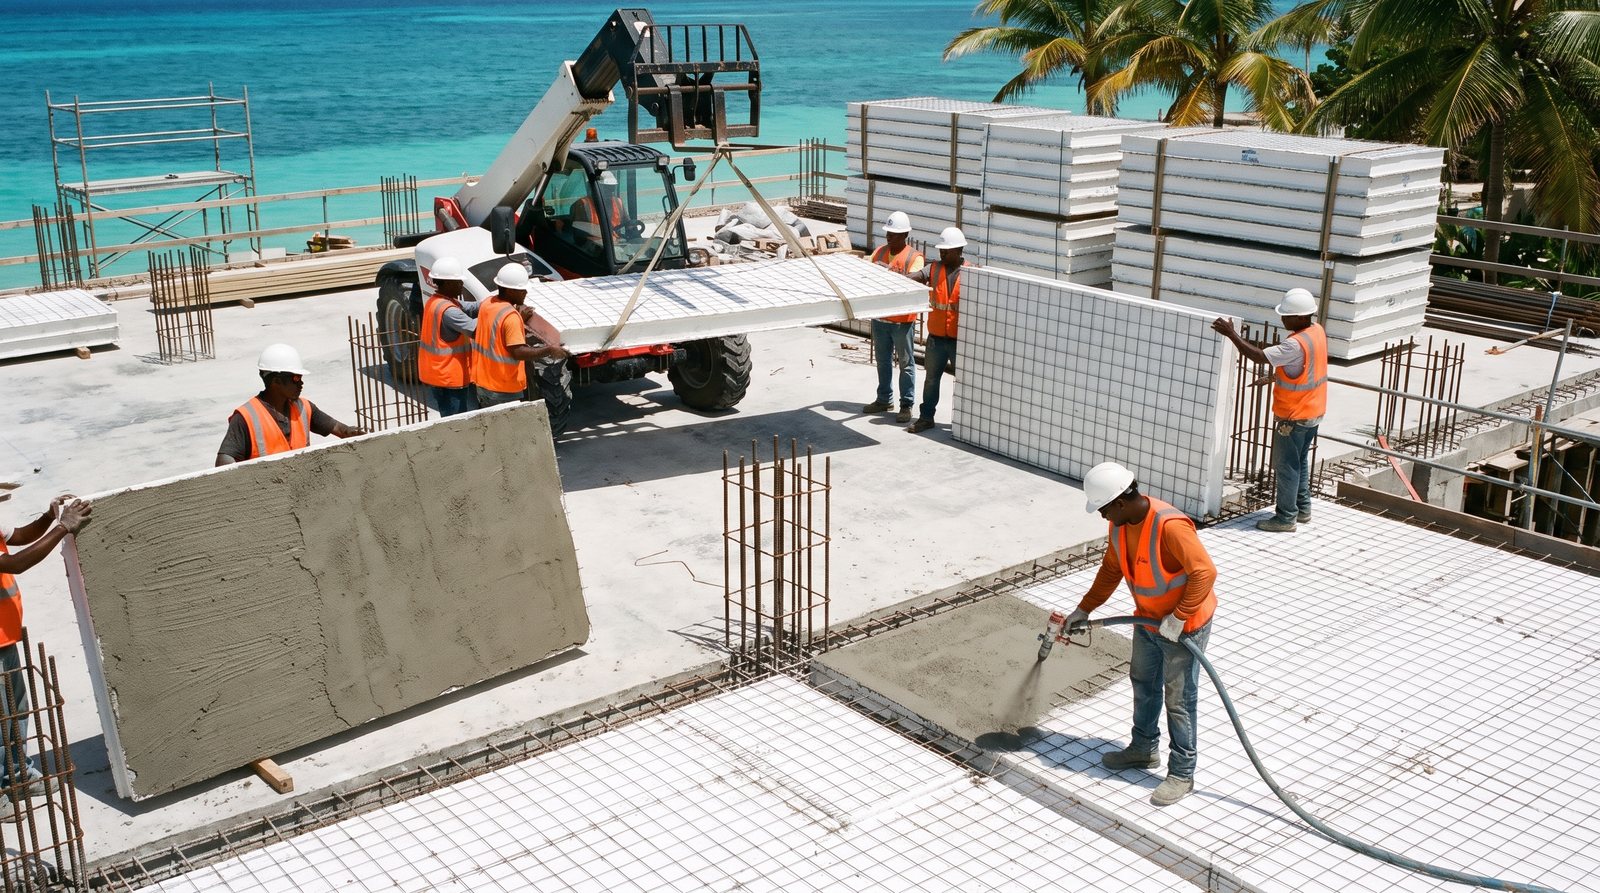
The foundation is poured first, with starter bars left projecting at the spacing the drawings call for. The panels arrive cut to those drawings, numbered and bundled in erection sequence, so the first bundle off the truck holds the first walls that go up. A crew of two or three moves them by hand.
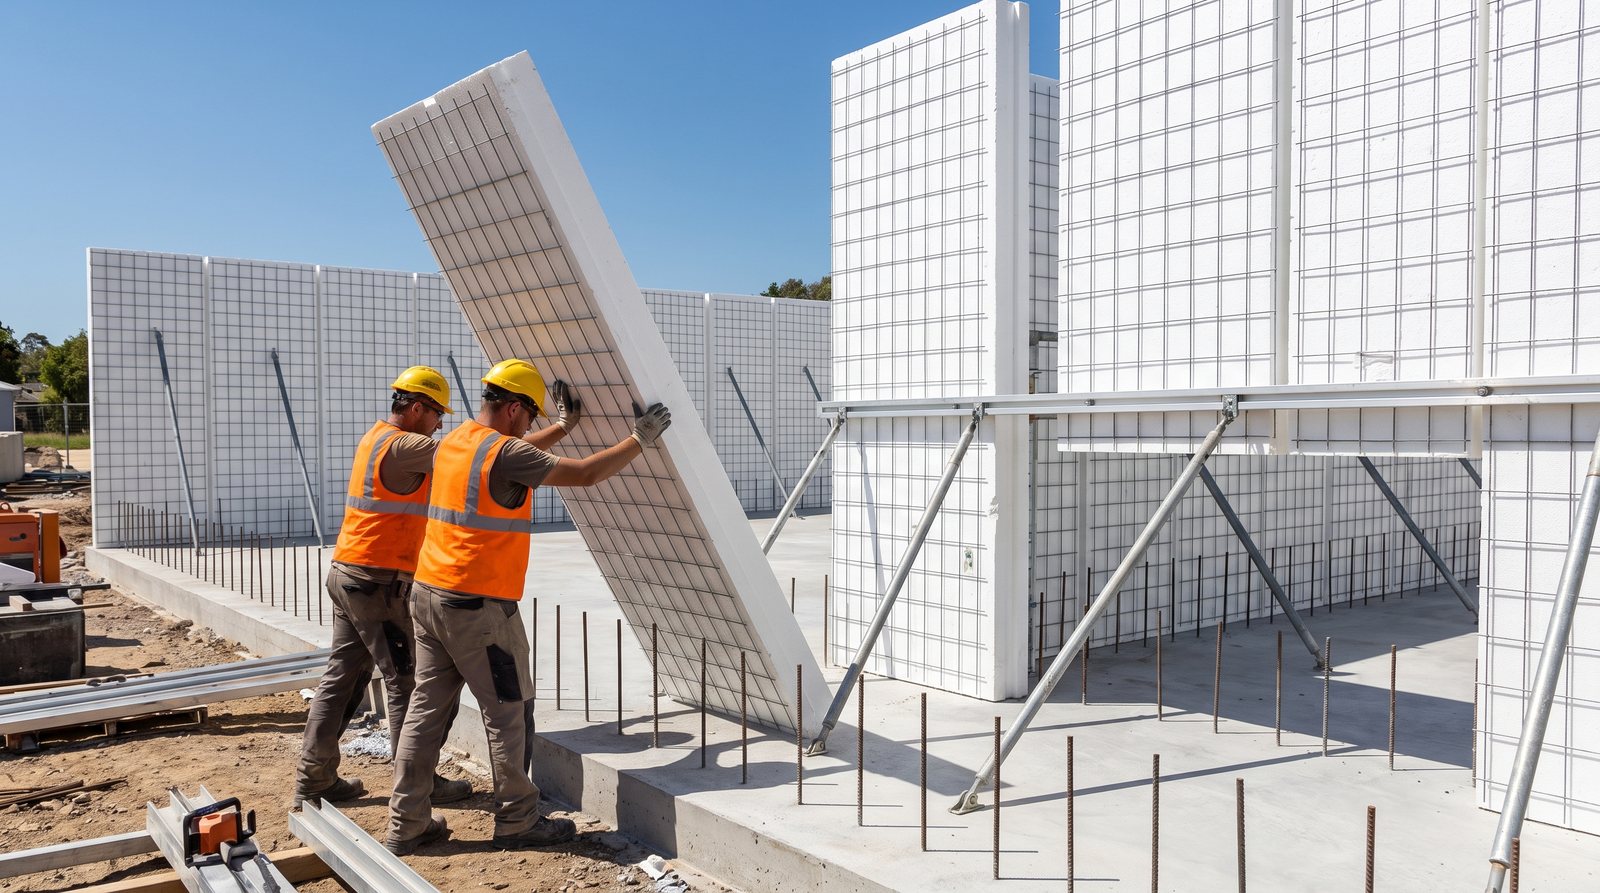
Erection starts at the corners, because that is what gives the wall its rigidity while it is still open. Each panel is lowered over the projecting bars, aligned to the line marked on the slab, and held plumb. From the first hour, the wall is tied to the foundation rather than standing on it.
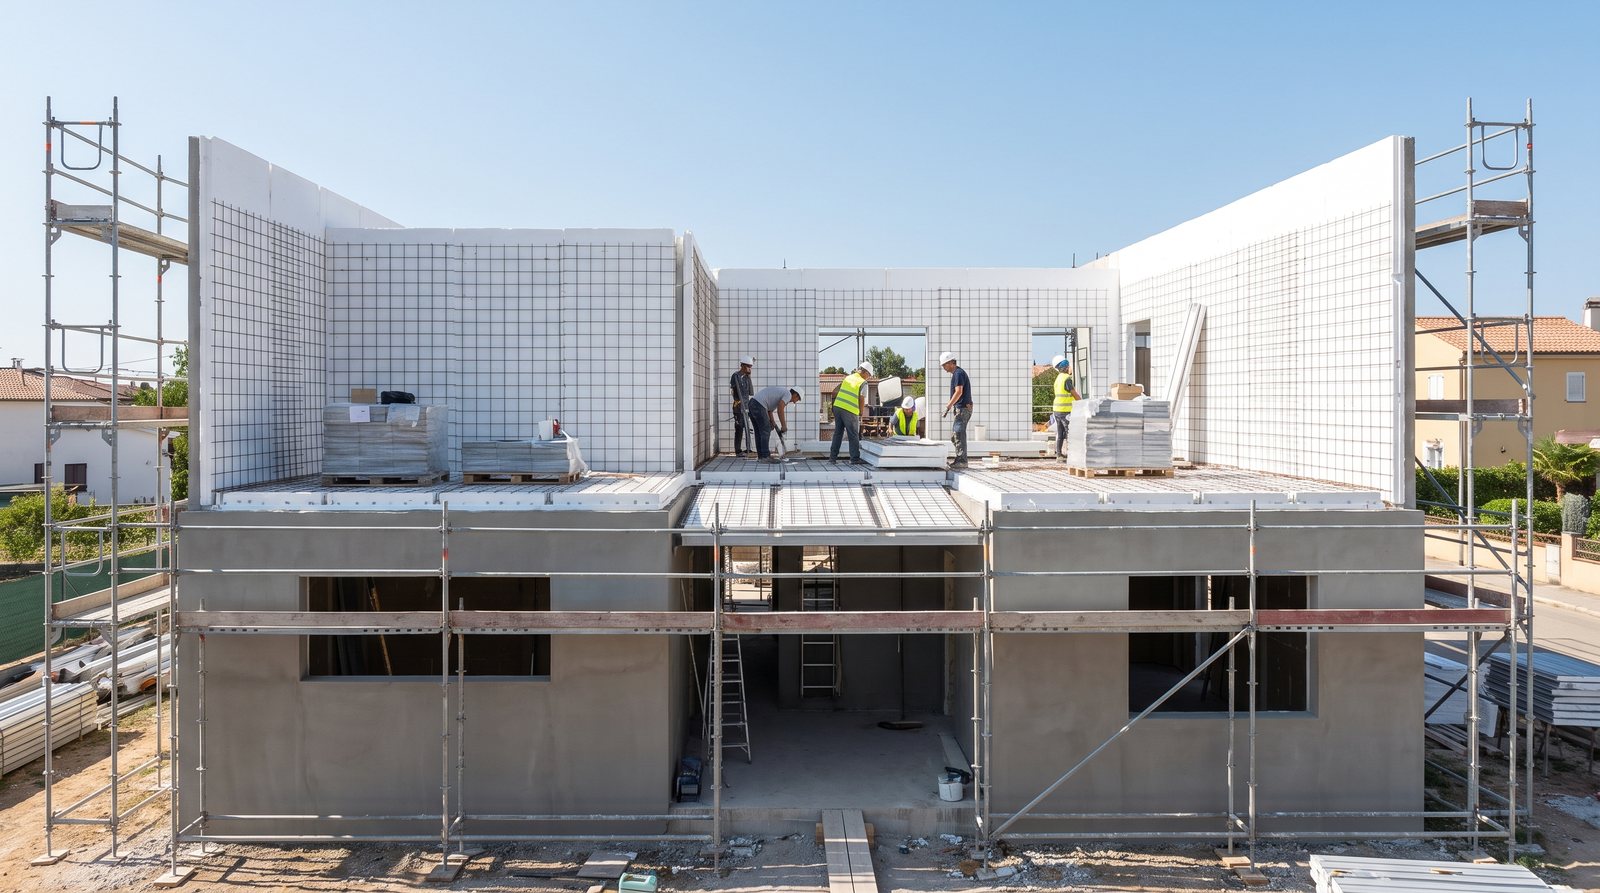
Diagonal props hold every panel plumb until the mortar has been applied and cured. Nothing is permanent at this stage: a panel that is out of line can still be adjusted, which is exactly why the bracing goes up before anything else.
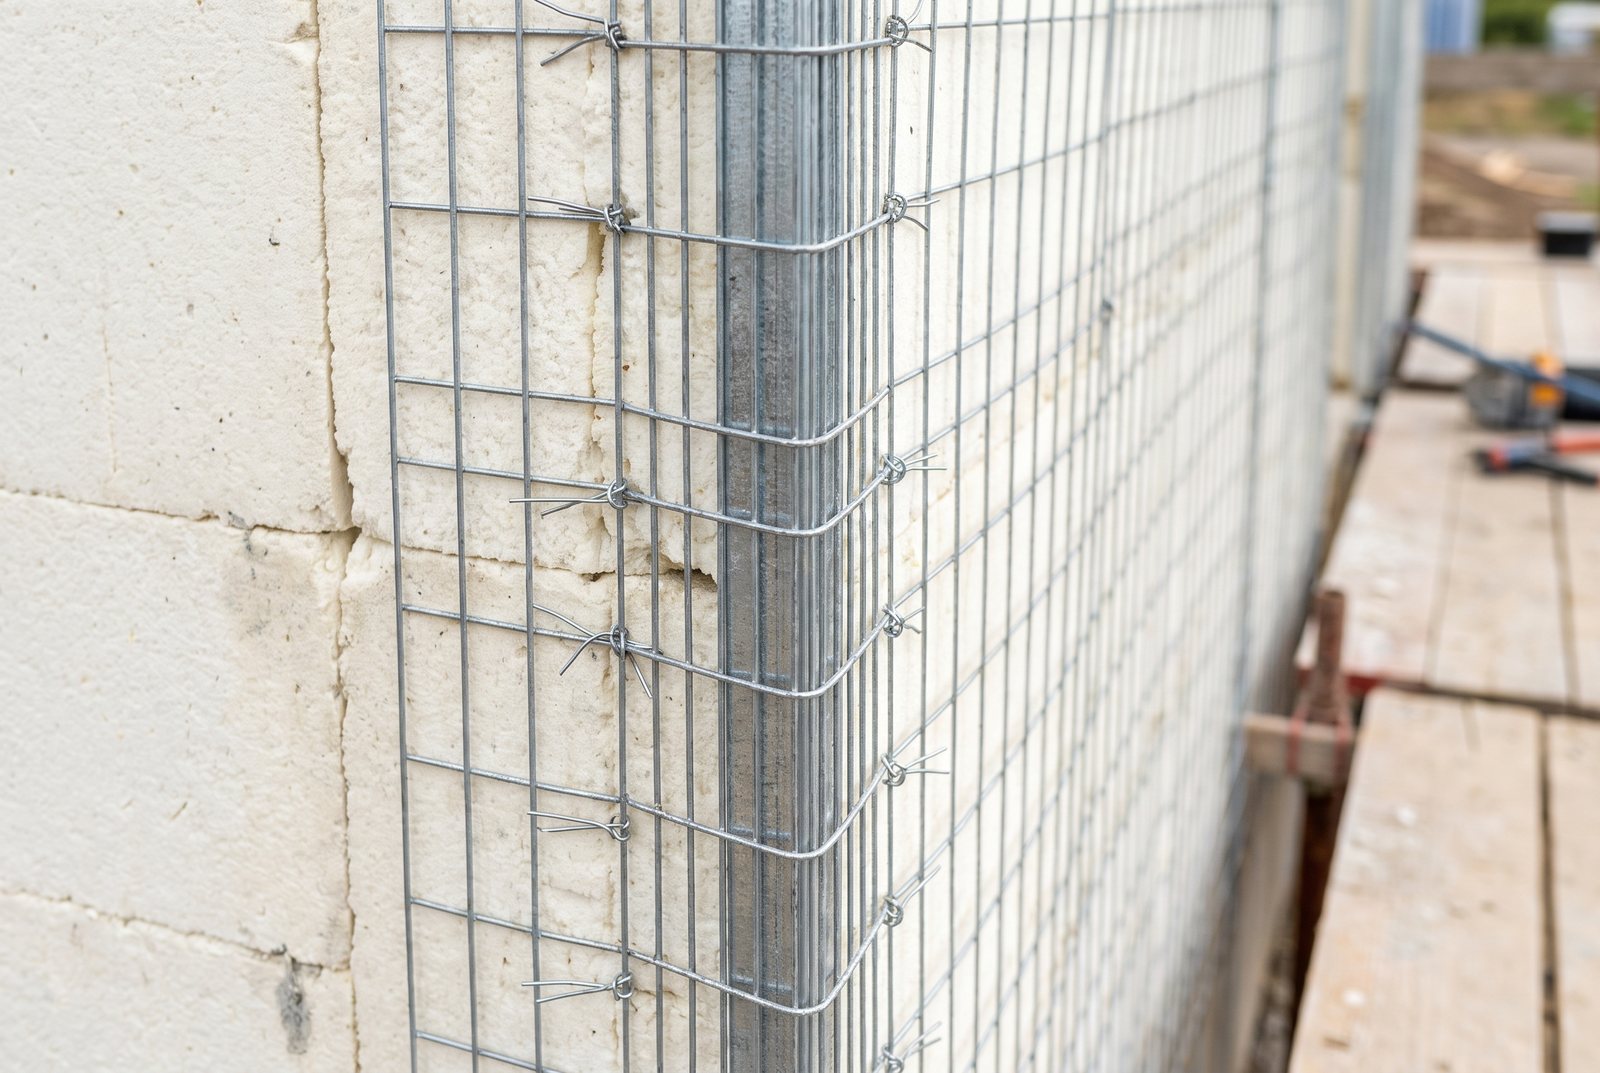
The panels are not simply butted together. A galvanized splice mesh laps over each joint on both faces and is fastened down, and a folded corner mesh wraps every corner. Once the mortar goes on, the reinforcement runs continuously from one panel into the next — this is what makes the wall monolithic instead of a row of separate pieces.
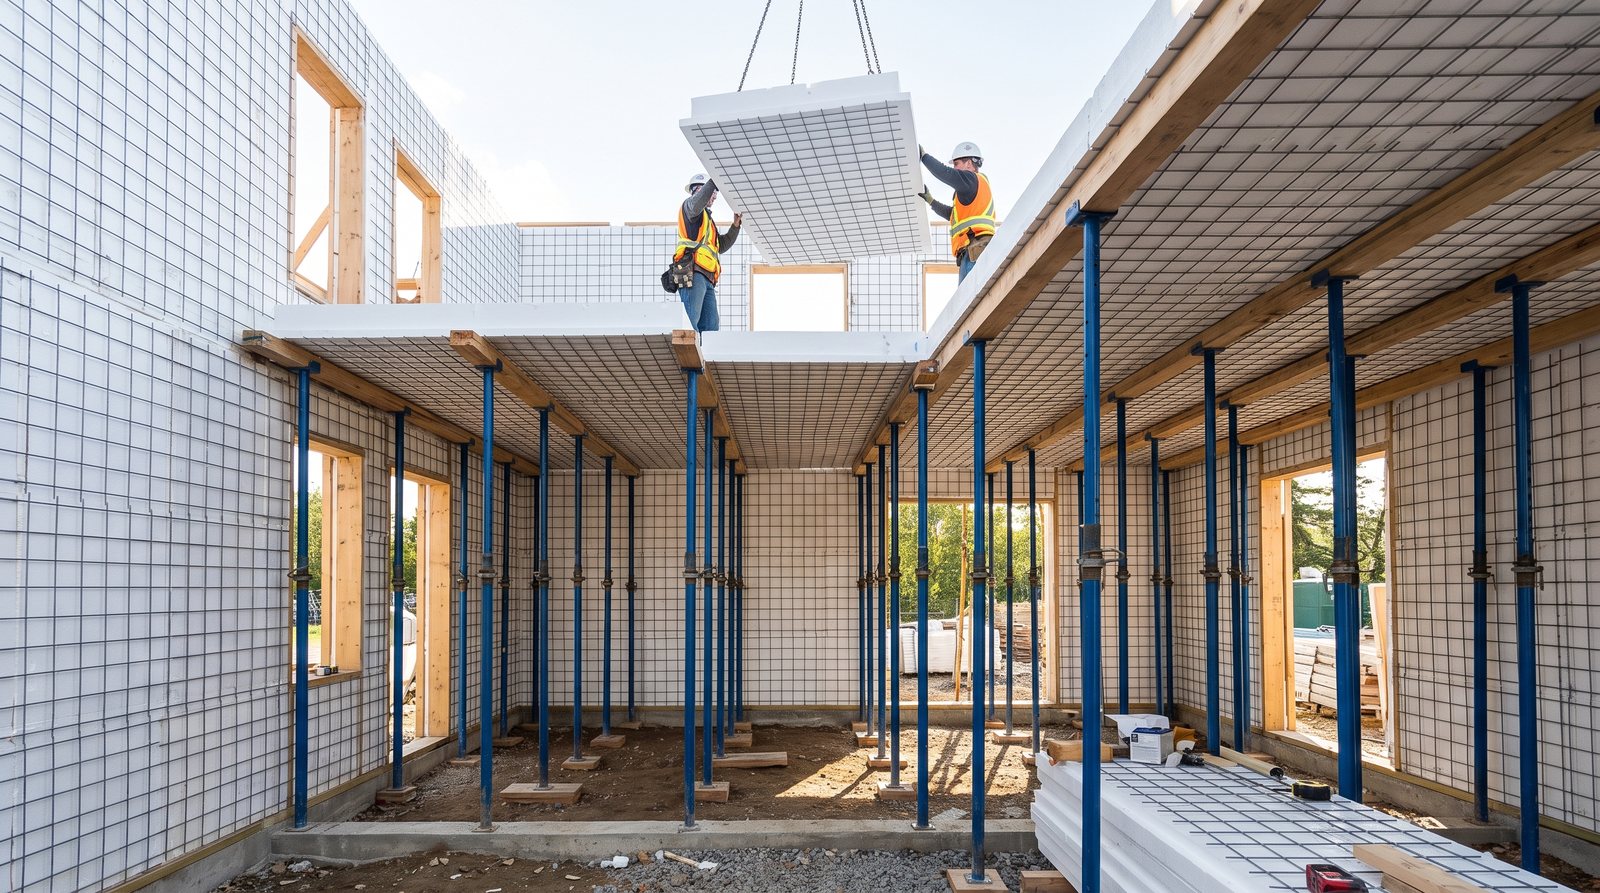
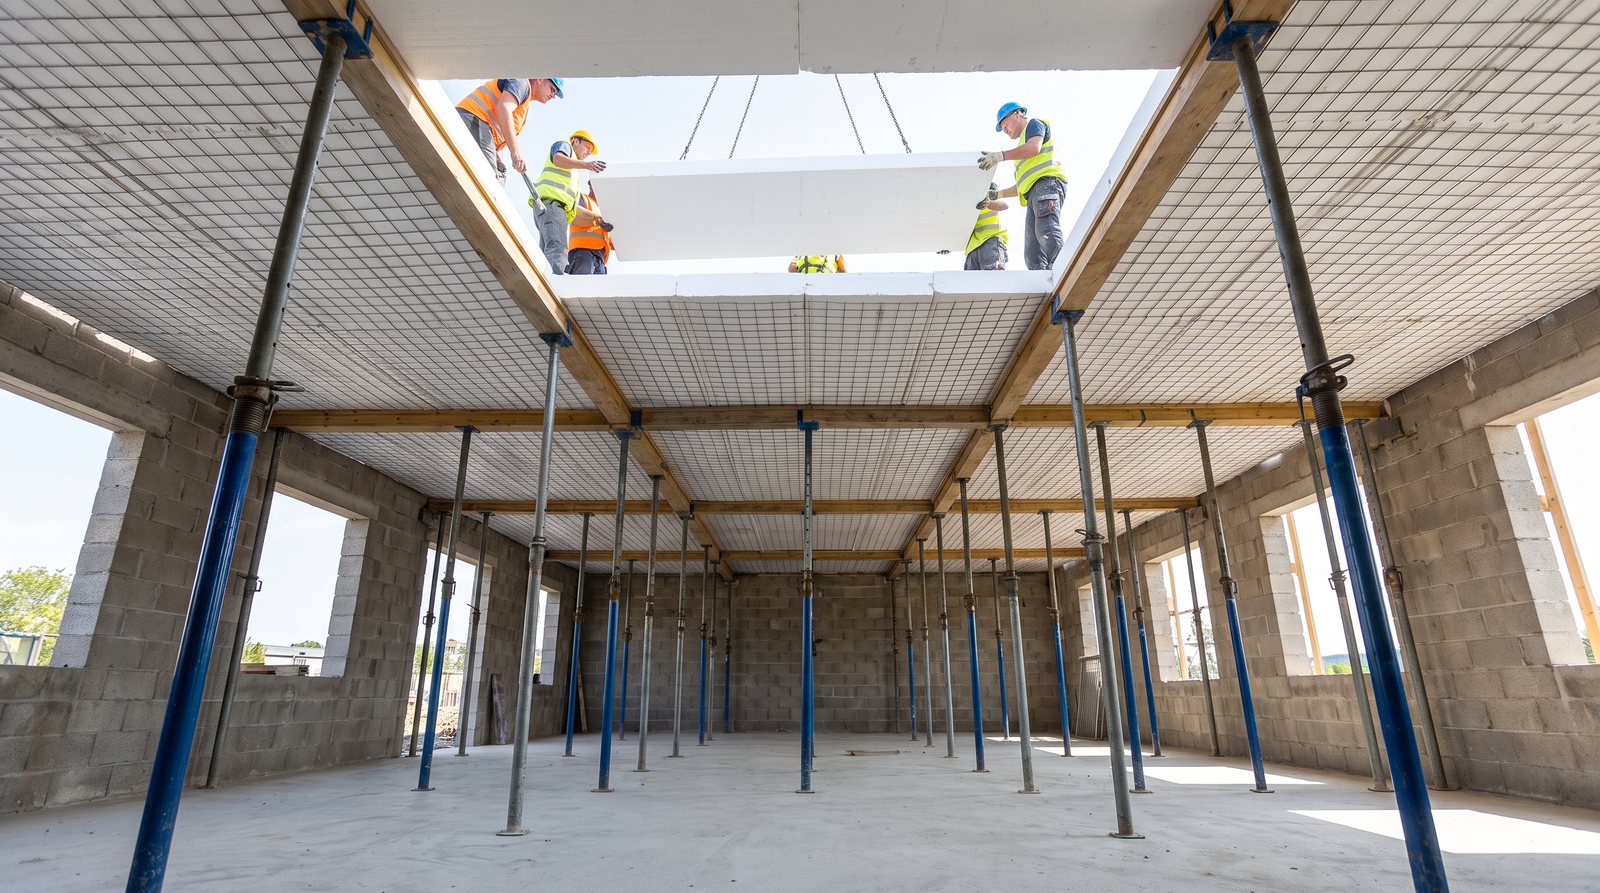
The horizontal panels are placed on a grid of adjustable props, tied into the walls with the same mesh detail, and left supported until they have gained strength. Walls, floor and roof end up reinforced into one another, so the shell behaves as a box rather than as four walls with a lid.
Before any mortar is applied, conduit and boxes are routed in the polystyrene core: the foam is opened with a hot tool, the runs are laid in and the mesh is closed back over them. The electrical and plumbing sheets in the set are drawn for exactly this stage, so the routes are known before the crew starts.
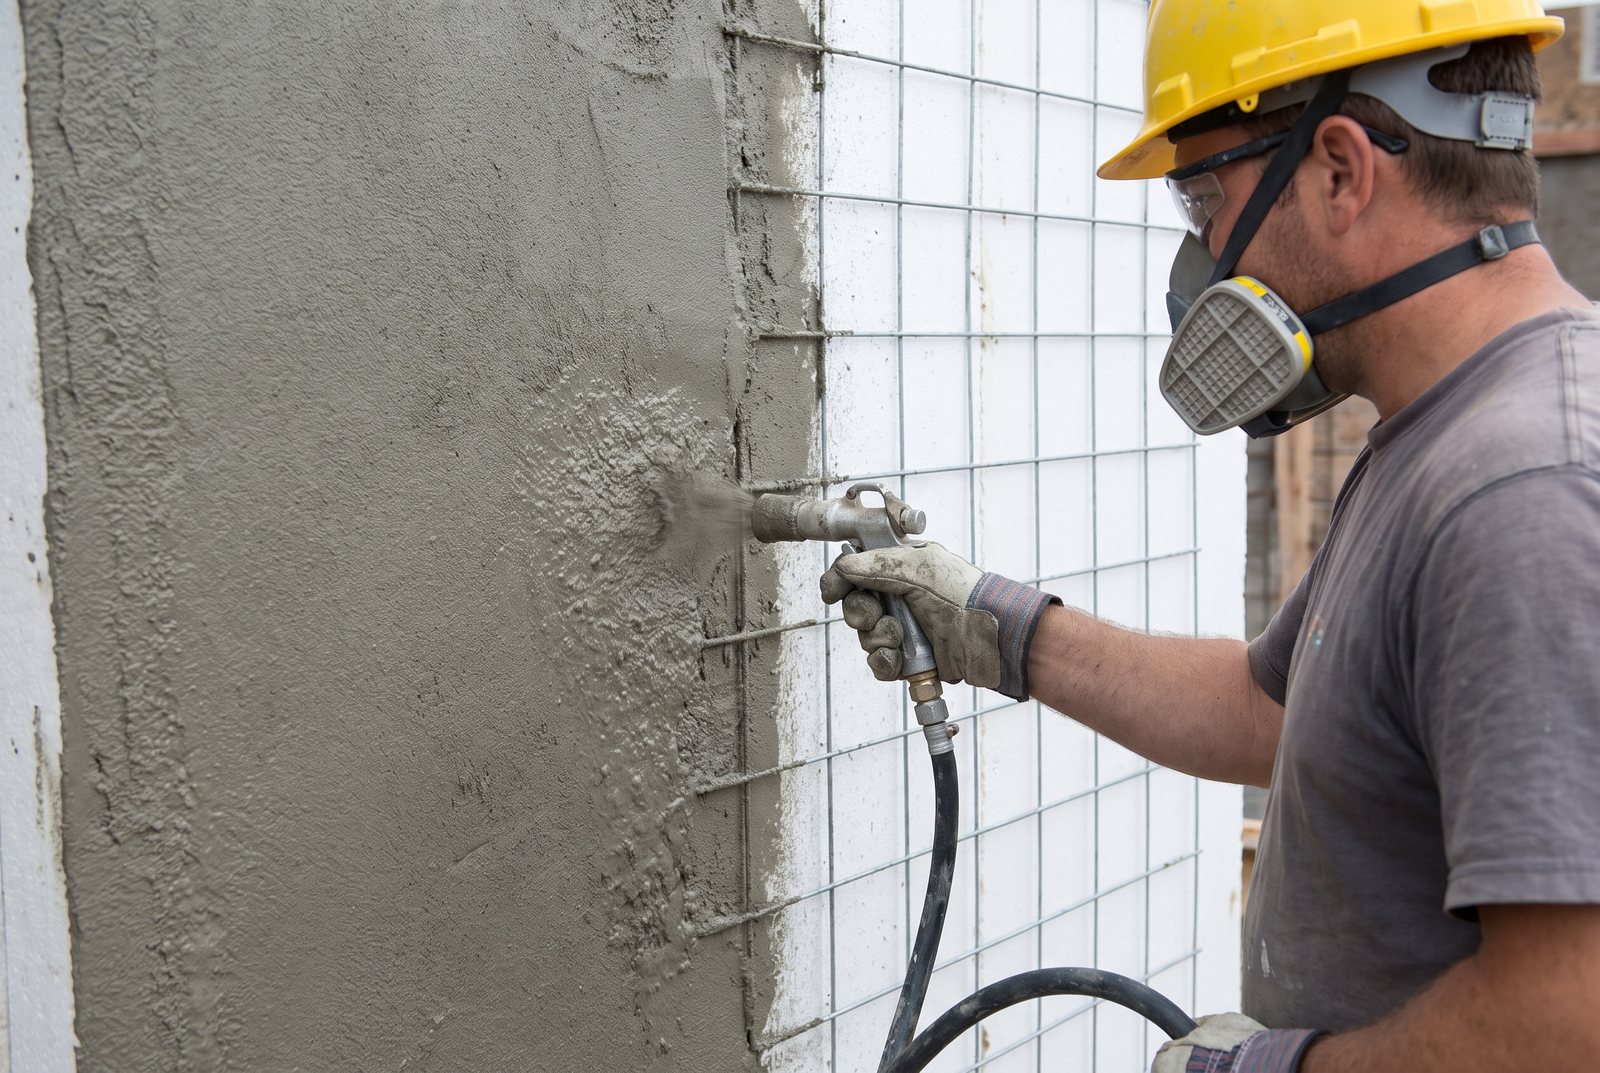
4,000 psi structural mortar is applied to both faces, in passes, over the mesh. This is the step that turns the assembly into structure: the two reinforced skins and the core act together, and the wall carries load, insulates and takes its finish in one operation. The props come out once it has cured.
What the panel is

The range
| Panel | Core | Finished | Assembly |
|---|---|---|---|
| PBT60 | 60 mm | 3.6″ | R-14 |
| PBT80 | 80 mm | 4.4″ | R-18 |
| PBT100 | 100 mm | 5.2″ | R-23 |
| PBT120 | 120 mm | 6″ | R-27 |
| PBT140 | 140 mm | 6.8″ | R-32 |
| PBT160 | 160 mm | 7.6″ | R-36 |
| PBT180 | 180 mm | 8.4″ | R-41 |
Finished thickness includes the structural mortar on both faces.
| Panel | Clear span |
|---|---|
| PBT-Slab 160 | 14 ft |
| PSG2-200 | 20 ft |
| PSG3-240 | 26 ft |
| PSG6-300 | 32 ft |
The clear span is what keeps the plan open: no beam, no post, no intermediate support inside the span.
Flat splice mesh at every panel-to-panel joint, folded corner mesh at every corner, and U-mesh around every opening — the RG1, RG2 and RGU connectors that come in the kit.
Every plan in the catalogue is drawn for this system, and every one carries the panel schedule the kit is cut from.
Browse the designs →